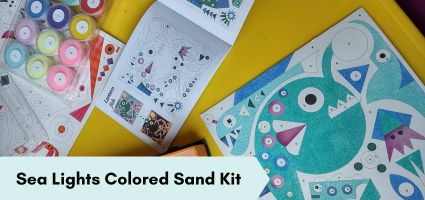
Sea Lights Colored Sand Kit
This post may contain affiliate links, which means I may receive compensation if you make a purchase using one of these links.
Both budding artists and reluctant artists can enjoy the simplicity and reward of completing a well-designed art kit.
They learn valuable skills like following step-by-step directions and how following a laid-out plan can lead to a wonderful result. Some people believe that children should only do creative child-led art, but I’ve seen great benefits from my children completing high-quality art kits as well. In our experience, expanding our kids’ horizons in ways I couldn’t do on our own is well worth the cost of a kit.
A special thanks to Timberdoodle Company for sponsoring this post by graciously sending us this copy of Sea Lights Colored Sand Kit at a discount to see what we think. All opinions are our own!
The Djeco Sea Lights Colored Sand Kit is available individually or as part of the 2nd-grade curriculum kit.

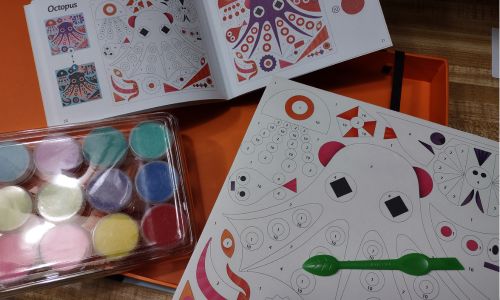
Suggested for ages 5-8, the kit comes with 4 different underwater scenes on sturdy cardboard. There are 12 containers of colored sand included to create stunning works of art.
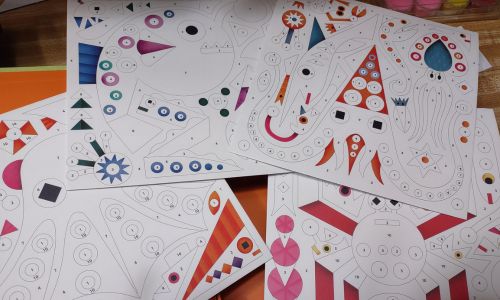
Each scene, an Angler fish, octopus, squid, and crab, are partially illustrated, while the rest of the numbered spaces are peeled off to reveal sticky areas.
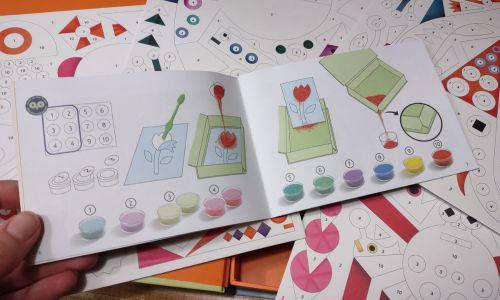
The provided instruction booklet is straightforward, showing exactly how each step should go.
You start your project by picking a scene board, finding the corresponding page in the instruction booklet, and picking out the numbered sand containers that match the scene you picked (as listed in the instructions).
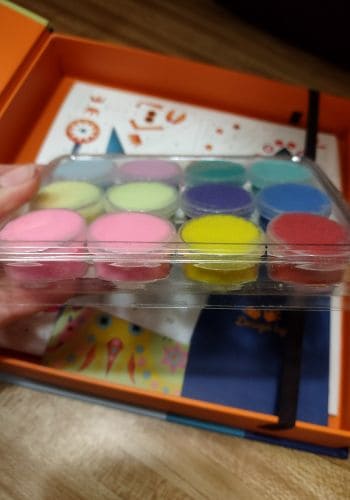
A very fun feature of this kit is that the 6 colors on the left of the sand container are fluorescent, and the completed glow-in-the-dark picture is super cool according to my 8-year-old!

Carefully peeling off the papers to reveal the sticky board was the most tedious part of the project for my daughter, and she chose to complete the board in two sessions to avoid fatigue. The provided tool works well, but must be used slowly and intentionally.
You work with one color of sand at a time, so you peel off all the areas that are labeled one number at a time.
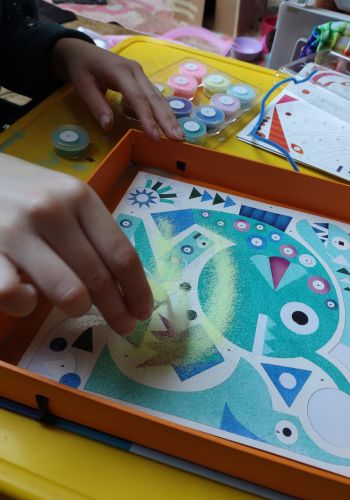
Once the sticky board is revealed for one number, you place the board into the box it came in, and dump the corresponding color of sand over the sticky board. We had to do this a couple times to completely cover each area.

Lift the board up and shake off the remaining sand to use again.
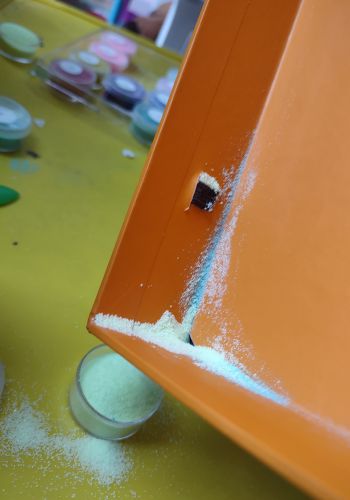
The box has a built-in hole in one corner to sift the sand through right back into the container. Repeat as many times as needed to get good coverage on the board before moving on to the next color.
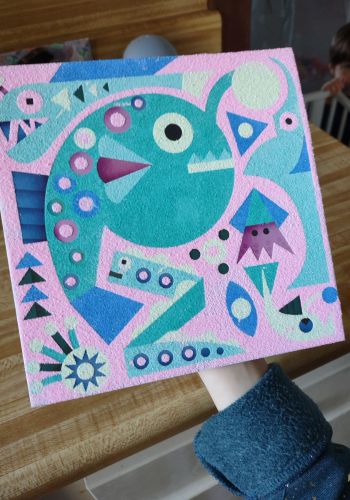
The completed project is impressive and absolutely delighted my daughter. She really enjoyed working with the sand and creating a beautiful piece of art.
Check out Sea Lights Sand Art Kit here!
WANT TO SAVE SEA LIGHTS SAND ART KIT FOR LATER? PIN TO YOUR FAVORITE PINTEREST BOARD HERE: